Best 7 Tips for Your Perfect Sourdough Dinner Rolls Recipe!
Have you ever wondered why your homemade dinner rolls never achieve that perfect balance of tangy flavor and cloud-like texture that professional bakers seem to master effortlessly? The secret might be simpler than you think – it’s all about understanding the art and science behind a proper sourdough dinner rolls recipe.
Creating exceptional sourdough dinner rolls doesn’t require professional training or fancy equipment. With the right techniques and a bit of patience, you can craft rolls that will elevate your family meals and impress dinner guests. Let’s dive into the essentials of this timeless bread-making tradition.
Ingredients List
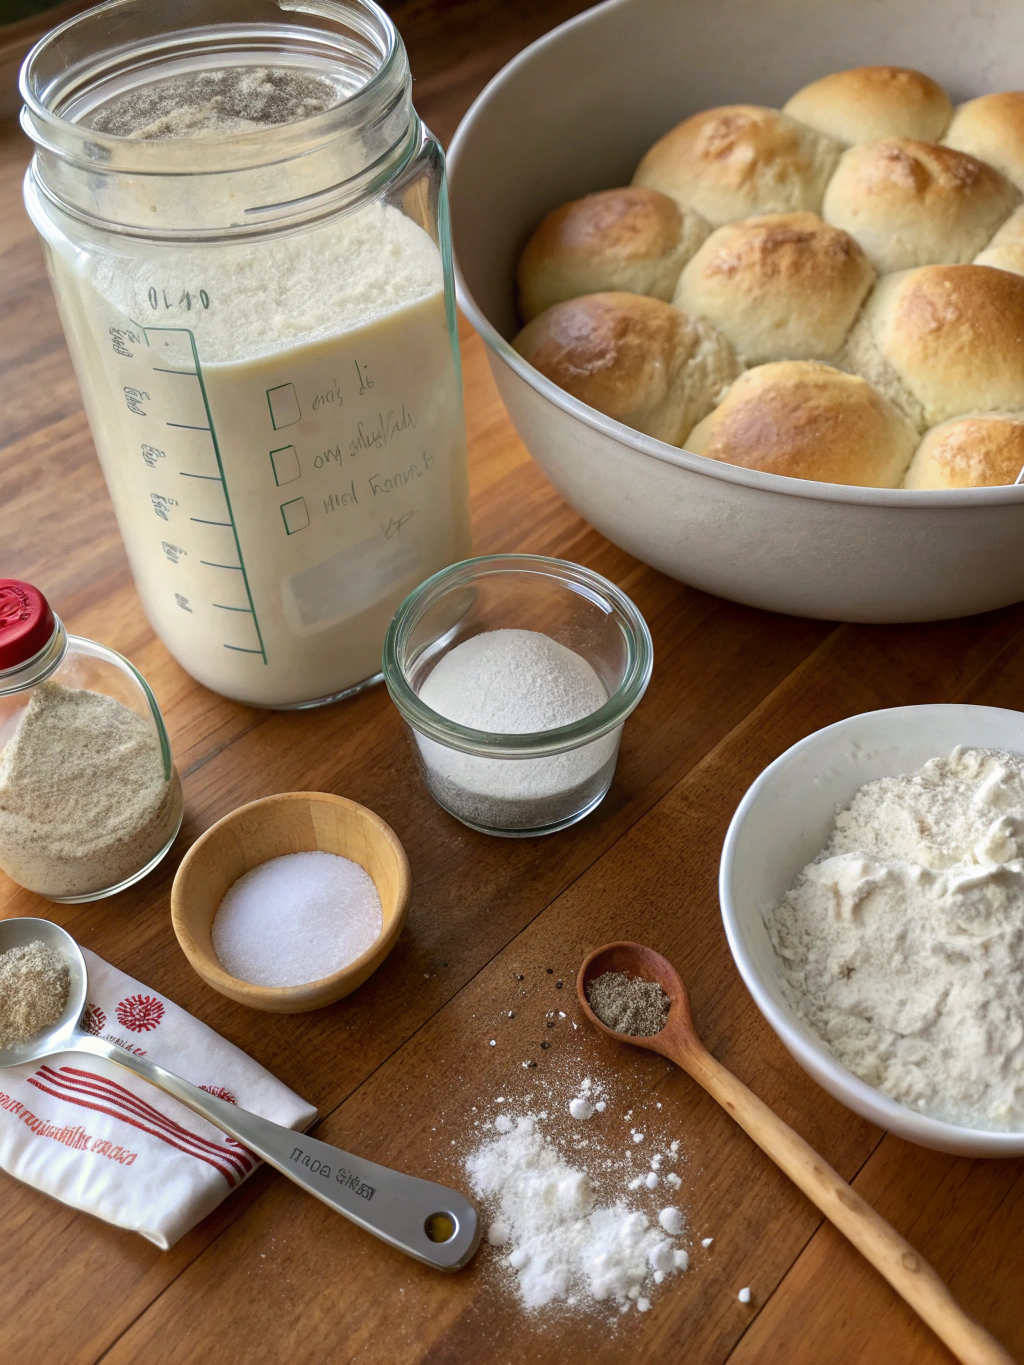
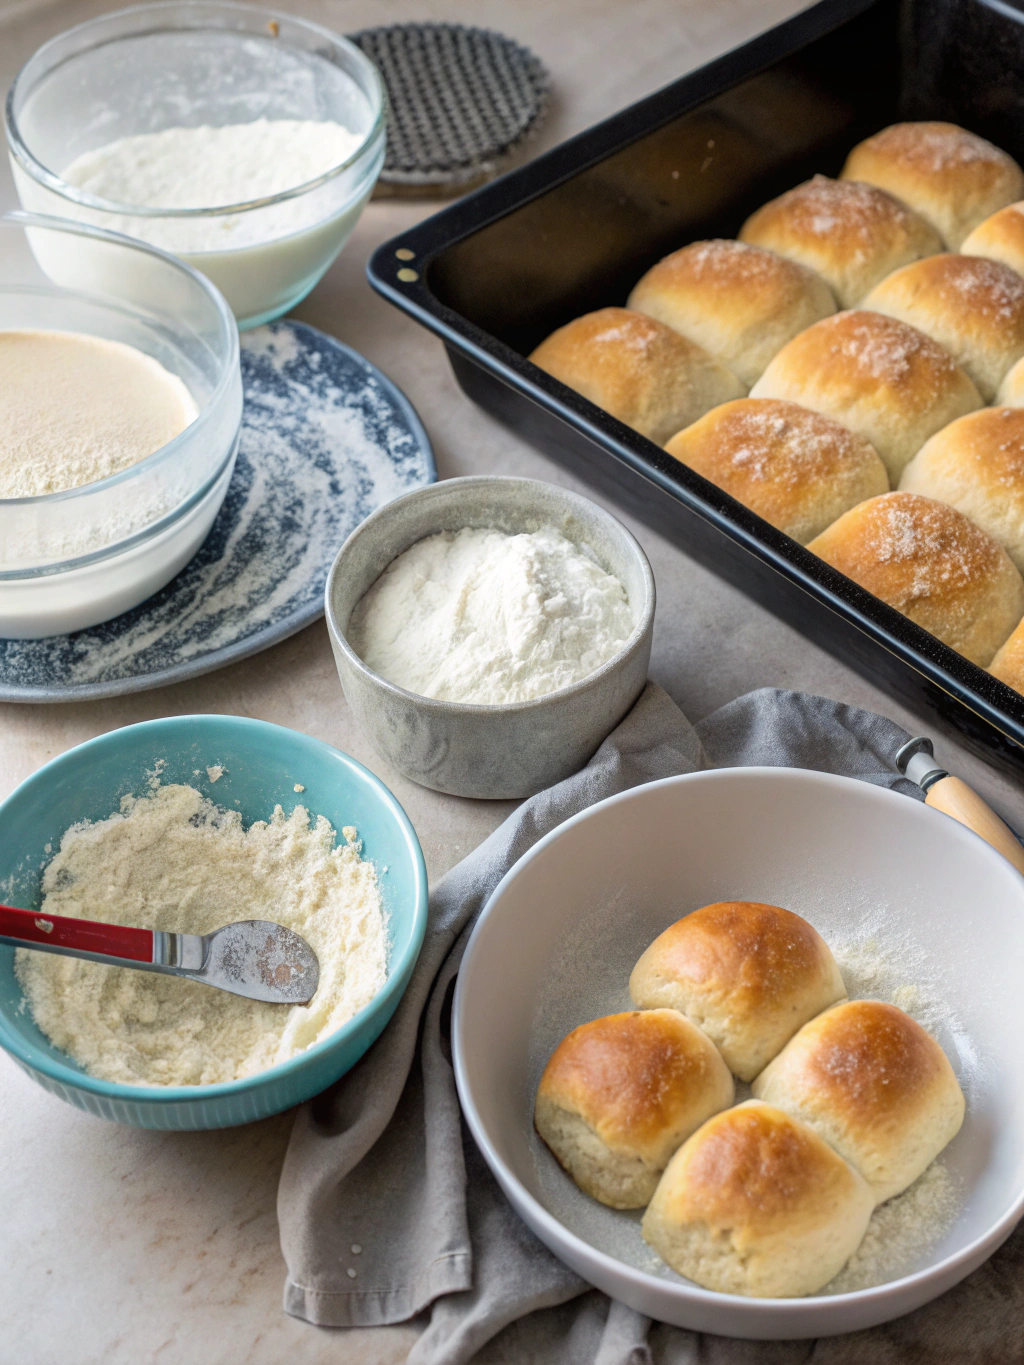
The foundation of any outstanding sourdough dinner rolls recipe starts with quality ingredients. Each component plays a crucial role in developing flavor, texture, and that characteristic sourdough tang.
- 1 cup (240g) active sourdough starter – Should be fed 4-8 hours before using and be at peak activity
- 4 cups (480g) bread flour – All-purpose flour can substitute but will yield slightly less chewy rolls
- 1/4 cup (50g) granulated sugar – Honey makes a wonderful natural alternative
- 1/4 cup (56g) unsalted butter, softened – Plant-based butter works for dairy-free options
- 1 cup (240ml) whole milk, lukewarm – Almond or oat milk creates excellent dairy-free versions
- 1 1/2 teaspoons (9g) salt – Sea salt provides a more complex mineral profile
- 1 large egg – For enriching the dough (optional but recommended)
- 1 tablespoon water + 1 egg – For egg wash before baking
The quality of your sourdough starter significantly impacts your results. A mature starter with regular feeding cycles will produce the most flavorful perfect sourdough bread with that distinctive tang that makes sourdough so beloved.
Timing
Sourdough baking is as much about timing as it is about technique. Understanding the timeline helps you plan accordingly and achieve consistent results.
- Preparation time: 30 minutes active work
- First rise: 4-6 hours (or overnight in refrigerator)
- Shaping: 15 minutes
- Second rise: 2-3 hours
- Baking time: 20-25 minutes
Total time: Approximately 8 hours (with active work of only about 45 minutes)
While this might seem longer than commercial yeast recipes (which typically take 2-3 hours total), the extended fermentation is what develops the complex flavors that make sourdough dinner rolls superior in taste and digestibility.
Step-by-Step Instructions
Step 1: Prepare Your Starter
Begin with an active, bubbly sourdough starter. Feed your starter 4-8 hours before beginning your recipe. It should double in size and show plenty of bubbles – signs that the wild yeast is active and ready to work. A starter that passes the “float test” (a small amount floats when dropped in water) is ideal.
Step 2: Mix the Dough
In a large mixing bowl, combine the active starter with lukewarm milk and sugar, stirring until the starter dissolves. Add the softened butter, egg, and salt, mixing until well incorporated. Gradually add the flour, mixing until a shaggy dough forms. This initial mixing hydrates the flour and begins gluten development.
Step 3: Develop the Gluten
Turn the dough onto a lightly floured surface and knead for 8-10 minutes until smooth and elastic. The dough should pass the “window pane test” – when a small piece can be stretched thin enough to see light through without tearing. This indicates proper gluten development, essential for that perfect chewy texture.
Step 4: First Fermentation
Place the dough in a lightly oiled bowl, cover with plastic wrap or a damp cloth, and let rise in a warm spot (75-78°F) for 4-6 hours. The dough should nearly double in size. For deeper flavor development, you can refrigerate overnight (8-12 hours) for a slow fermentation.
Step 5: Shape Your Rolls
Gently deflate the dough and divide it into 12-16 equal pieces (about 75-85g each for medium rolls). Shape each piece into a tight ball by pulling the edges toward the center and pinching to seal, then rolling between your palms or on an unfloured surface to create tension.
Step 6: Second Rise
Arrange the shaped rolls in a greased 9×13-inch baking pan, leaving space between each for expansion. Cover loosely and let rise for 2-3 hours until puffy and nearly doubled. They should gently touch each other when fully proofed – this creates that classic pull-apart texture.
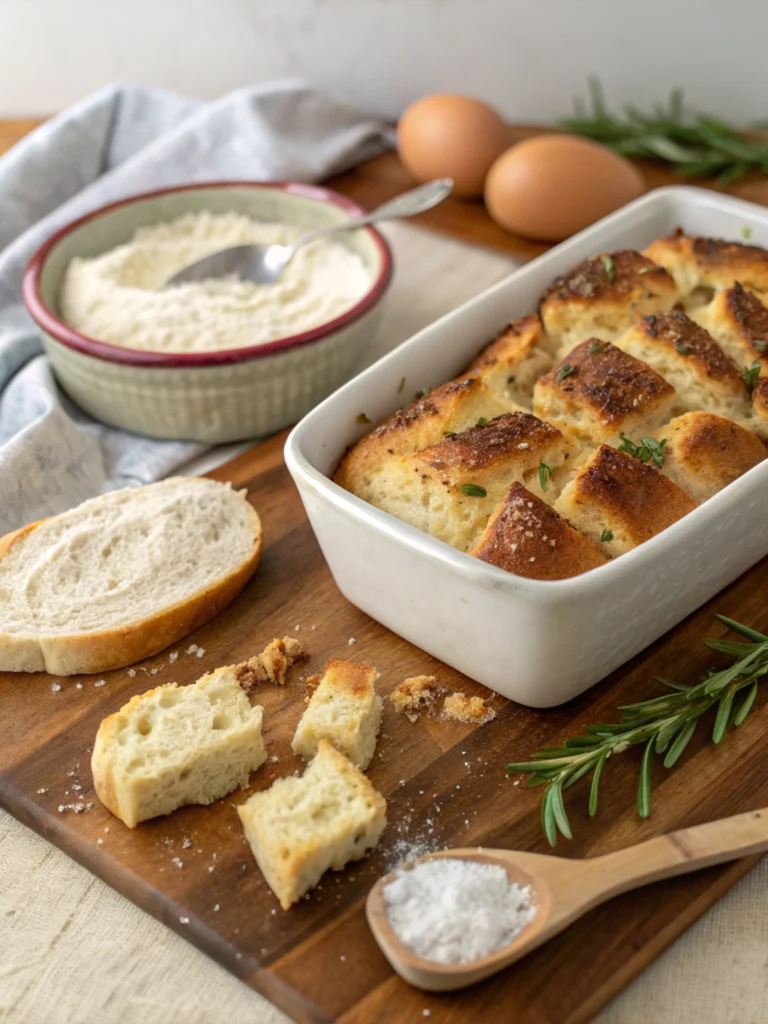
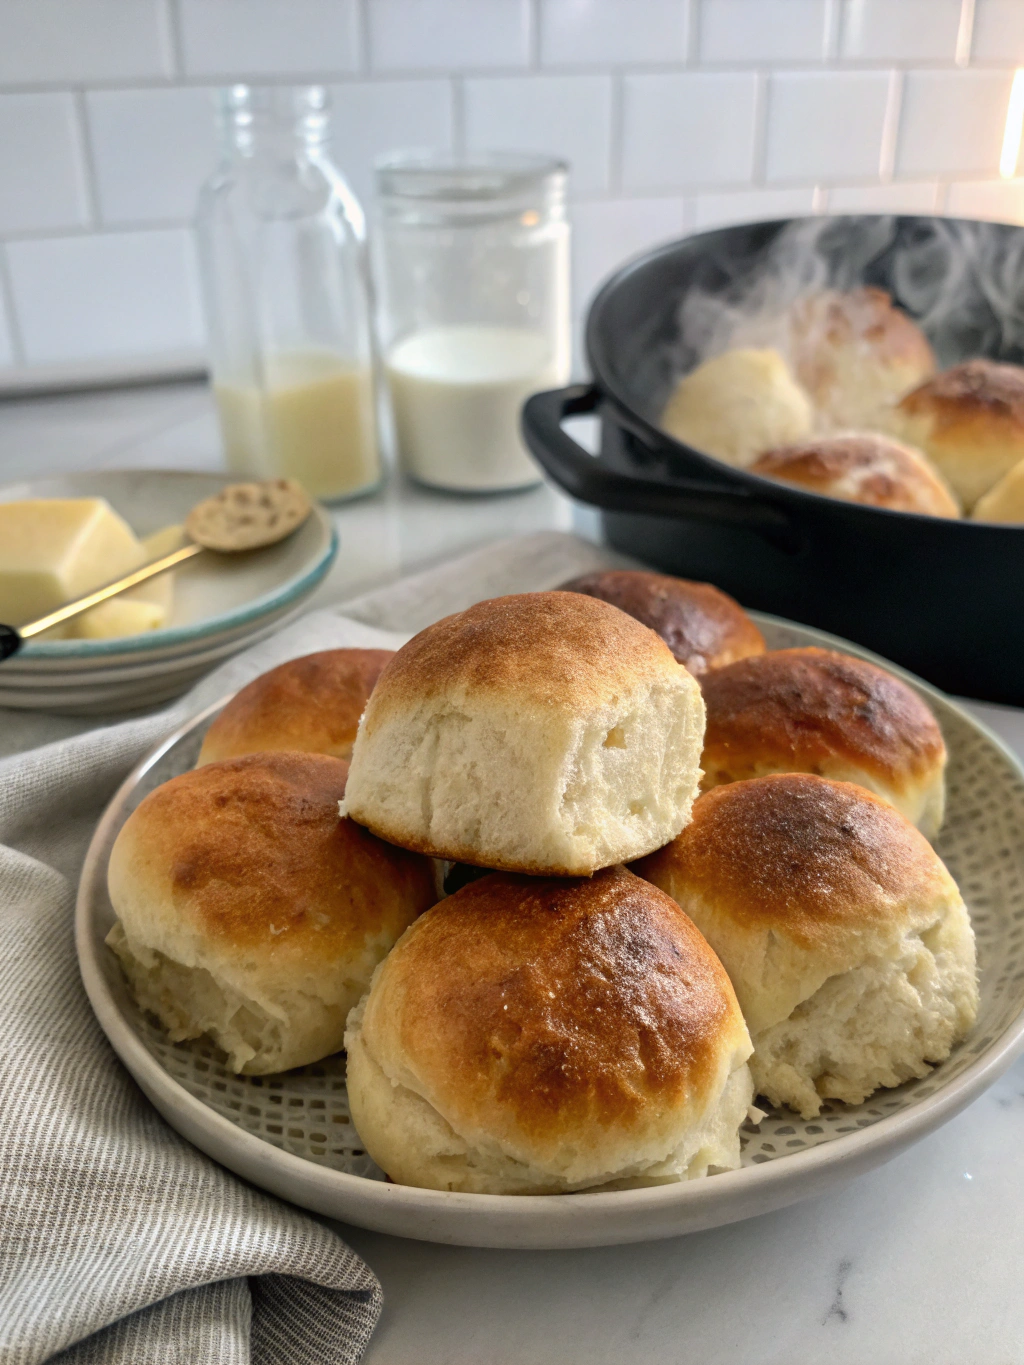
Step 7: Bake to Perfection
Preheat your oven to 375°F (190°C). Brush the rolls gently with egg wash for a golden, shiny finish. Bake for 20-25 minutes until deeply golden on top and the internal temperature reaches 190°F (88°C). Cool in the pan for 5 minutes before transferring to a wire rack.
Nutritional Information
Understanding the nutritional profile of your sourdough dinner rolls recipe helps you make informed dietary choices. Each roll (based on a yield of 16 rolls) contains approximately:
- Calories: 165 kcal
- Carbohydrates: 28g
- Protein: 5g
- Fat: 4g
- Fiber: 1.2g
- Sodium: 225mg
Sourdough fermentation actually increases the bioavailability of nutrients in wheat and can make the bread more digestible for some people. Research suggests the fermentation process reduces phytic acid, which can otherwise inhibit mineral absorption.
Healthier Alternatives for the Recipe
You can easily adapt this sourdough dinner rolls recipe to suit various dietary needs without sacrificing flavor or texture:
Whole Grain Option: Replace up to 50% of the bread flour with whole wheat flour for added fiber and nutrients. Add an extra 2 tablespoons of water to compensate for the higher absorption rate of whole grains.
Reduced Sugar: The sugar amount can be cut in half with minimal impact on texture. You can also substitute maple syrup or coconut sugar for more complex flavors and lower glycemic impact.
Dairy-Free Version: Use plant-based milk (oat milk works particularly well) and plant-based butter for a completely dairy-free variation that maintains the rich texture.
Gluten-Sensitive Option: While not gluten-free, the long fermentation process breaks down some gluten proteins, making sourdough potentially easier to digest for those with mild gluten sensitivity (not celiac disease).
Serving Suggestions
Transform your meal with these creative ways to serve your freshly baked sourdough dinner rolls:
Classic Comfort: Serve warm with cultured butter and local honey for a simple yet indulgent treat that lets the sourdough flavor shine.
Meal Accompaniment: These rolls pair beautifully with hearty soups, stews, and roasted meats. Their slight tanginess cuts through rich dishes and cleanses the palate.
Slider Base: Split and fill with pulled pork, chicken salad, or vegetarian options like grilled portobello mushrooms for elegant mini sandwiches at your next gathering.
Breakfast Transformation: Day-old rolls can be sliced and transformed into exceptional French toast or bread pudding, where the sourdough tang adds complexity to sweet breakfast dishes.
Common Mistakes to Avoid
- Using an inactive starter: Your starter should be bubbly and active, having doubled in size after feeding. An inactive starter results in dense, poorly risen rolls.
- Rushing the fermentation: Sourdough needs time to develop. Shortcutting the rise times will result in less flavor and poorer texture. Be patient!
- Overproofing: If your shaped rolls rise too long, they may collapse during baking. They’re ready when they’ve nearly doubled and a gentle finger poke leaves an indentation that slowly springs back.
- Underproofing: Insufficient rising time results in dense, gummy rolls with poor oven spring. Follow the visual cues rather than strict timing.
- Overbaking: Check your rolls 5 minutes before the suggested baking time. They should be golden brown, not dark brown, to maintain moisture.
- Incorrect dough temperature: Aim for a final dough temperature around 78°F (25°C) for optimal fermentation. Too cold slows fermentation; too warm can produce off-flavors.
- Improper shaping: Creating surface tension when shaping is crucial for proper rise and texture. Rolls should be tightly shaped without tearing the dough.
Storing Tips for the Recipe
Proper storage extends the life of your sourdough dinner rolls while maintaining their exceptional quality:
Same-Day Storage: Keep rolls at room temperature in an airtight container or bread bag for 1-2 days. The natural acids in sourdough help preserve freshness longer than commercial bread.
Freezing: For longer storage, freeze completely cooled rolls in a ziplock bag with air removed. They’ll maintain quality for up to 3 months. Thaw at room temperature and refresh in a 350°F oven for 5 minutes.
Refreshing: Day-old rolls can be revitalized by sprinkling with a few drops of water and heating in a 350°F oven for 5-7 minutes. This reactivates the crust and makes them taste freshly baked.
Make-Ahead Option: The shaped rolls can be refrigerated overnight before the final rise. Allow them to come to room temperature and complete rising before baking – perfect for fresh rolls at dinner with minimal same-day effort.
Conclusion
Mastering the art of sourdough dinner rolls opens a world of culinary possibilities that will transform your everyday meals into memorable experiences. The process connects you to centuries of baking tradition while providing your family with wholesome, flavorful bread that simply can’t be matched by store-bought alternatives.
Ready to experience the joy of pulling apart a warm, freshly baked sourdough dinner roll? Start your sourdough journey today and share your creations with us in the comments below! Whether you’re a seasoned baker or first-timer, these techniques will guide you toward sourdough success. Happy baking!